Wednesday 28 April 2010

Assignment 1 - Results

I have received the feedback from my tutor on my selection of images for Assignment 1.

Overall, the feedback I received was good; I had a good selection of images and my notes were clear.

I did receive some good critical feedback on my composition, focussing and framing of some of the images all of which I agree with.

I'm happy with the results and this feedback is just what I was looking for to help me take better photographs.

Exercise 15

What: The brief of this exercise was to locate where a single point could be identified and take 3 photographs where the object was repositioned each time.
Where: Whitesands
When: Just after 16:30.
How: I looked around to find a single identifiable point surrounded by a relatively plain background, which is quite hard to locate at times. I reshot this exercise four or five times as I was not happy with the outcome each time. I also experimented with doing this exercise as macro photography, but I could locate a suitable object.

As I walked back from shooting another subject I spotted this Victorian water drinking fountain sitting surrounded on three sides by mounds of grass. I shot a succession of photographs, where I repositioned the object within the frame and also I moved around a little to obtain better compositions. At the end I chose the ones which I preferred.

[I seem to be having some form of cropping problem with the blog, so I shall be inserting smaller versions of the images linked back to my Flickr account]


f13 1/125 ISO 160 52mm (35mm equivalent 78mm) Pattern Metering Mode, Auto White Balance. Hand held.


DSC_0004


I main reason I positioned the water found off to the right, but within the middle of the frame was to balance the ground with the horizon. At this distance I felt that the water found could easily have been lost within the composition if it had not been put in such a prominent position.
The sky gives the image a sense of distance and it also emphasises the colour of the water fountain.

The three main lines that I could identify within this image are the horizon itself, the break in the clouds which form a straight line and the water fountain itself. The water fountain has been manufacturer with flutes in the uprights which strengthen the line

DSC_0004 mono with lines

I moved to a new position for the second photograph. I moved closer to the water fountain and dropped slightly down into a dip


f18 1/100 ISO 160 29mm (35mm equivalent 43mm) Pattern Metering Mode, Auto White Balance. Hand held.
DSC_0010

I did this so that I could emphases the water fountain itself, I wanted to capture some of its design in the photograph. I moved more to the left of the water fountain so that the sun was over my left shoulder. I did not want it to burn out the image with the whiteness of the fountain, so I waited for a cloud to pass in front of the sun.
I set the water fountain slightly lower off centre and off to the right in the frame so that it stood out more. I did not want too much of the grass in the foreground as it made the composition very messy and drew the eye away from the main subject. I also did not want too much of the sky in the frame as this also left the main subject looking isolated and not the main subject of the photograph.

Again I could only spot about three main lines in the composition, the horizon, feathered by the outlines of the grass, the break in the clouds and the water fountain itself. There are a number of smaller weaker lines within the grass itself.

DSC_0010 mono with lines

In the third photograph, I moved so that I was more level with the water fountain.

f25 1/40 ISO 160 70mm (35mm equivalent 70mm) Pattern Metering Mode, Auto White Balance. Hand held.

DSC_0019


I positioned the main subject within the frame like this as there were a number of distraction objects within the background, all of which would have drawn the eye away from the main subject.

DSC_0019 mono with lines

Again there are three main lines within the composition, the horizon, the clouds and the water fountain. There is a fourth line which runs at an angle through the frame which intersects with the main subject and the horizon.

Wednesday 21 April 2010

Project: Points

I decided to continue on with the course while waiting for the Tutor to get back to me regarding Assignment 1.

The first part of this section is all about points and their use in composition.
In preparation for this section, the coursework asked for some notes on types of situations where I could make a clear photograph of a single point.

A small boat in a bay type harbour
A ball in the middle of a field of grass
An animal in a cornfield
A person in a cornfield
A man-made object, such as a tractor in a field (either just soil or with repetitive plantings)
from the air - a rocky outcropping or craggy island in the sea
A balloon in the sky
A single cloud in the sky
A single star at night
The moon on a clear cloudless night (with no/dim stars)
A single vehicle on a large airstrip or car park
From a high vantage point, a person alone in a street
A single light lamp-post on a dark night
A house light-up on it's own surrounded by darkness
Using macro the centre of flower
The remains of a croft or broch against a glen
A bird in a lake
A seal sunning itself on a beach/against some rocks

Given time the list is endless.

It is also suggested that I look over previous photographs and note images where I can identify single points.


Gannet - single point

In this image a single Gannet flies above me, a single point against the blue sky.
What I do not like about this image is the centre composition. It would be better off to one side.

Wildbird Feeding - single point

Another bird photo - Again a single point, the bird against the background of the branches. As the composition is slightly of centre I like this image.

A Bugs life - single point

Not a macro, but a zoomed in telephoto shot of a bug on the windscreen of my car. Again it is s a single point against the sky. I had to drive up the ISO on this and so it is quite noisy. However I like the colours and the composition of this photo.

Straight away looking back over photographs I have taken before and during this course I can see where the composition of the photographs could be improved.


Wednesday 7 April 2010

Assignment 1 - the final images for submission

I have gathered together the final images for submission to Assignment 1.

I will post these below as soon as I have burned them onto CD-ROM and posted them off to my tutor.


Assignment 1

What: The brief of this exercise assignment was to identify and present to the tutor 8 pairs of images which demonstrated contrasting qualities.
Where: Various location
When: All different times of the day in differing conditions.
How: I started by review some of the images I had taken recently and then going out and shooting the required pairs as necessary.

Black

I spotted this burned piece of wood while out walking. It was sitting just above the sea line and the black burned wood stood out against everything else. I decided on a close up framing on the side which was burnt most, but still showed a little of the original colour of the wood.

White

I was looking for something which portrayed white as its’ main characteristic and quality. I finally went for a setup while the subject would wear a white wig in front of a white background. I did not want any other colour to stray into the image as it wanted it to be as white as possible.

continuous

While out walking we crossed a wooden bridge. I spotted that from a low angle that the hand rails went off into the distance unbroken. I also saw that the shadow of the handrail also lead the eye straight off into the distance. I wanted to frame this up as much as possible so that the handrails were as close to the top of the frame as possible so that it constrained the eye into following the lines off into the image.

intermittant

This was a bit of a lucky accident, as I had spotted the small black dots on the stairs on a previous visit to the museum. I wanted to capture the repetitive nature of the dots on the stairs. When I went to take the photograph I noticed that there were a number of repeating elements in the image. Teh dots, the curves in the pillar, the actual steps as they curve off, the small poles coming out of the steps and into the wall and the small circular holes repeated on the outer wall. I was pleased with this image as I was looking straight down on the steps and I find that my eye does slowly follow all the curves across and down through the image.

Dark

In this I wanted to capture the almost absence of light, for without light you cannot see that it is dark. By lighting up the bottle from below, the dark liquid disperses the light and allows the shape of the contained to be defined without it being too bright.

Light

On the opposite scale I tried to define light as being something which we all see and we sometime take for granted. The bright sky and the sun clearly define that there is light there.

Low

I sketched out a few diagrams of what I wanted low to be. At first I was attracted to the idea of defining low using an emotion, but in the end I decided to go for the definition of low as in distance and height. This was shot almost at ground level, however the camera was tilted slighty upwards to that it framed the buildings and the sky in the background.

High

Again I was tempted by the notion of emotions or substances to define high, however I was reminded of the height of buildings in the city as opposed to the towns and country where they are rarely very high. I decided to shoot from a high point with the camera as far out as possible to give an almost vertigo like feeling of distance down into the frame.

Transparent

I tried to define transparent as something that I could see through clearly. I did not want to use a simple piece of glass as I did not feel that it defined transparent clearly at the time.
I used a magnifying glass as it is transparent by it also makes things clear and understandable.

Opaque
I found that opaque was easier to define as it is a clearer definition. In this case I wanted to present something behind a piece of opaque glass to breakdown the definitions of the object and make it harder to see. In this way the viewer is able to see that the subject is both the glass and the dissipated image of the object behind the glass.

Moving

I wanted to use a moving element in this image, at first I was going to use a stationary camera and a moving object with slow shutter speeds to demonstrate that the subject was moving. However I decided on moving both the camera and the subjects at the same time, so that the both camera and subject together would create an image with more movement in it.

Still

Here the definition of still is both the camera and the subject on the bench. By having people moving past on a slow shutter speed it broke their movement down to a blur while leaving the subject and the bench as clearly defined as possible.

Sweet

I thought about how to show sweet without using sugar which could also be defined as white. I chose to use syrup being poured slowly into a glass to show that the liquid being poured was thick and “syrupy”

Sour

I wanted to show sour as both an effect and as an object. I used both the lemon and the subjects’ expression to show that the lemon was sour and that had an effect on the subject.

Few

I chose to go with few as being a small or limited number, in this case it is a few berries on the branch of a bush.

Many

I wanted to show in this image that there was many of the same element in this image. I chose to use this photograph as I feel it defines many in that there are many toothpicks in the image and that they were identical.

Straight-Diagonal

I came across this set of stairs while out photographing other subjects. I feel that the shape of the stairs are a good subject as they both go through the frame on straight lines and the steps themselves are at a diagonal to the walls and the handrails.


Exercise 14

What: The brief of this exercise was to take 3 of my photographs and crop them, noting the results.

Where: Various location

When: All different times of the day in differing conditions.

How: I examined my catalogue of photographs taking during the past few weeks that I have been working on the course. I selected 3 and then experimentally cropped each photograph

I started with this photograph; it is a long distance telephoto shot of some deer grazing among the gorse bushes.


DSC_0029

I decided that there was too much background and foreground framing the deer. I then decided to crop down the photograph so that it framed the deer a bit better and offset them to the left of the frame. I felt that they were too static to be in the middle of the frame and that they needed to be balanced against the background.

DSC_0029 cropped

I am much happier with the framing of the photograph now, not only does it emphasise the deer but it allows the colour differentiation between the ground and the sky to be seen, as the sky is no longer washed out.

The image of the frog is a little bit of a cheat, as when I went to crop it, I only cropped a small amount off the image


DSC_0066

I basically removed some of the out of focus background as the shapes were distracting from the main subject.

DSC_0066 cropped


In the last image,


DSC_0162

I decided to do 2 crops of the image, as both of these crops have their merits however.

The first crop is a square crop of a 1 to 1 radio.


DSC_0162 cropped

And one more which has a more standard framing crop in a rectangular shape.

DSC_0162 cropped v2


I cannot decide which image out of the two crops I prefer. The square crop emphasises the shape of the curves and the contrasting straight lines of the pillars and the roof., it also has a greater sense of depth and height to it, due to it having more of the roof and therefore the light in the image. It does however loose the flow of the curves as they lead off into the photograph.

While the other crop allows the straight lines to flow into the image further and show the repetition of all the elements of the image. It looses its perspective and appears almost as a telephoto lens photograph as it has lost it's depth of field.


Exercise 13

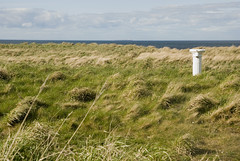
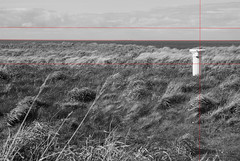
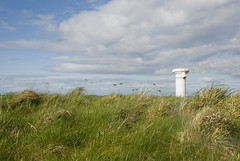
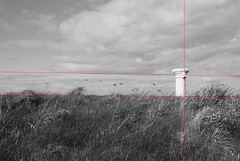
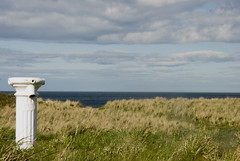
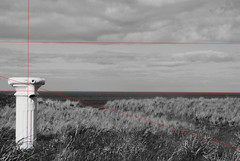
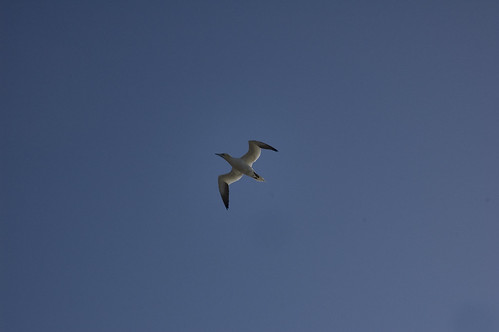
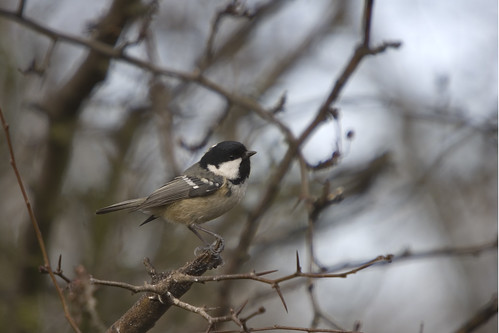
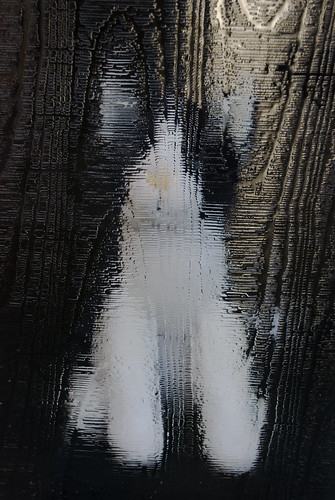
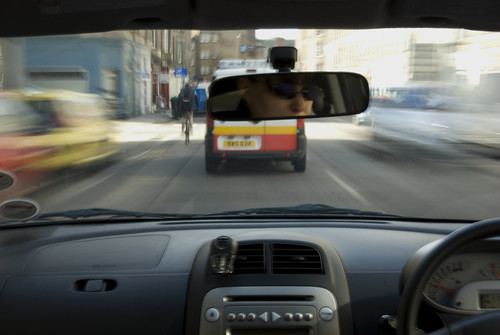
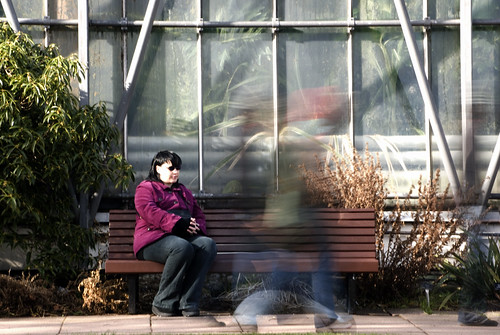
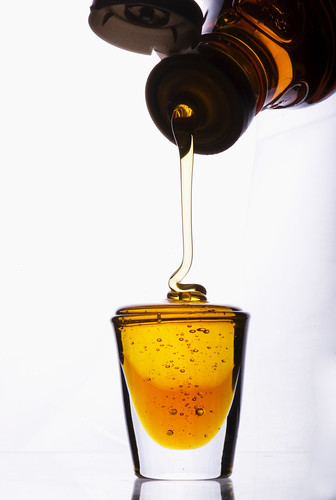
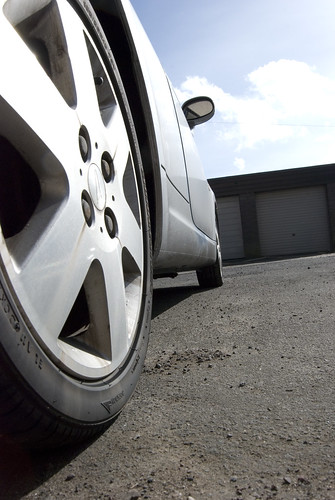
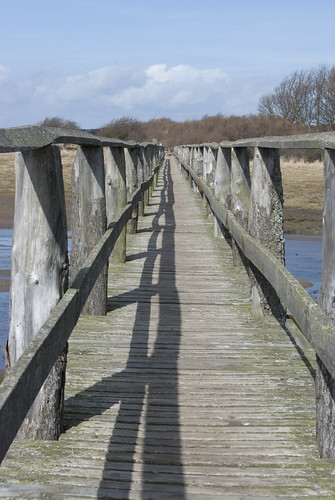
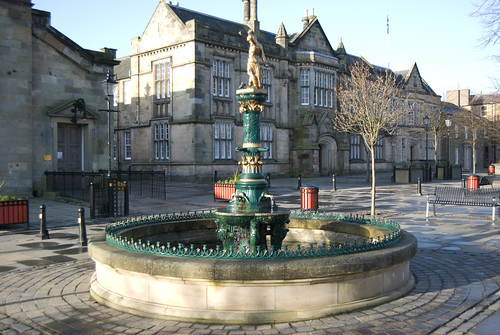
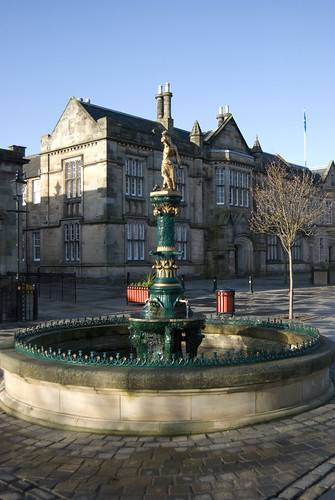
What: The brief of this exercise was to take 20 photographs of compact scenes holding the camera in a horizontal landscape position and then to take 20 photographs of the same scenes holding the camera in a vertical portrait position.

Where: Various locations – I have been aware of this exercise when I reviewed the course notes. I have been taking photographs or reviewing one I have taken previously to see if they are suitable for this exercise.

When: All different times of the day in differing conditions.

How: Holding the camera in the both positions I took 20 photographs of varying subjects. I tried to analyse what I was doing as I went along as I was well aware that I would be influenced by how I was holding the camera as to what I would photograph. Holding the camera in portrait made me at first look for tall subjects, holding the camera in landscape made me look for wide subjects.

Once I had got over this initial thought process I started to look for subjects outside of that constraint and look for good compositions based on what I could see.

The main point of the exercise was to show that with a bit of work and thought compositions could be made to work in both aspects.

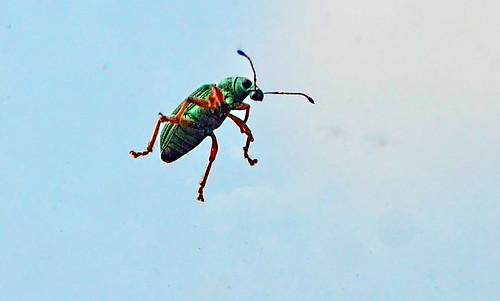
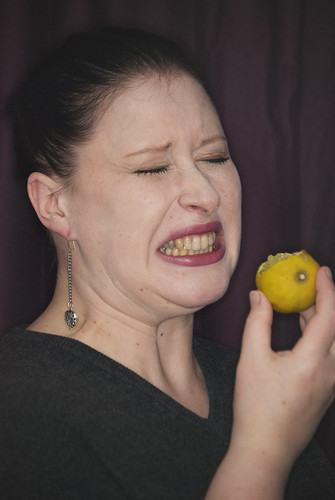
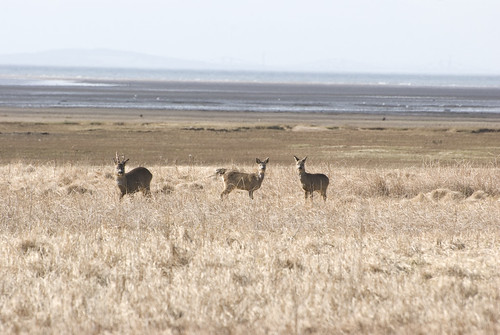
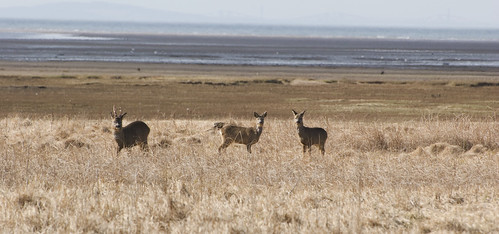
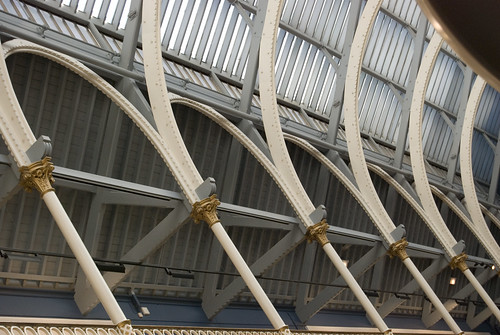
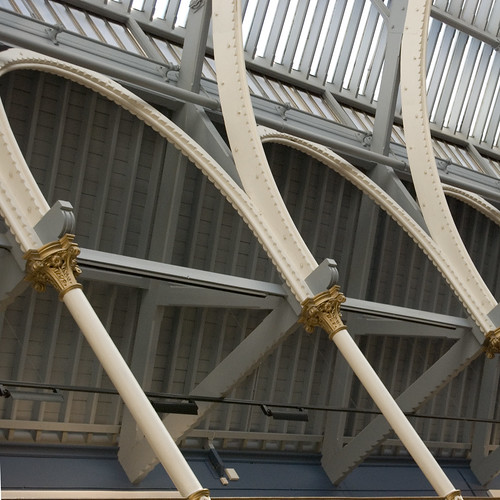
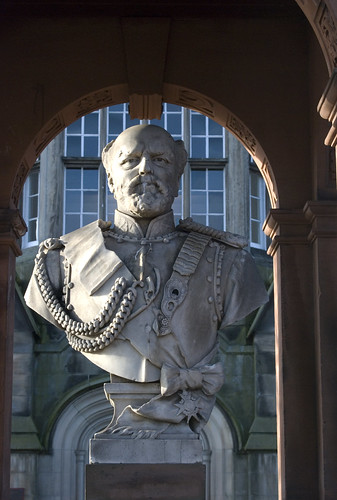
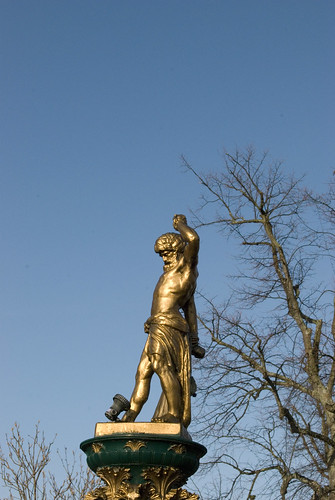
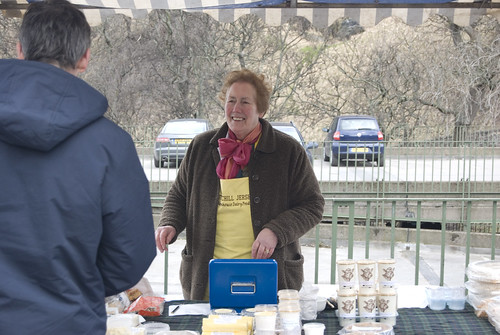
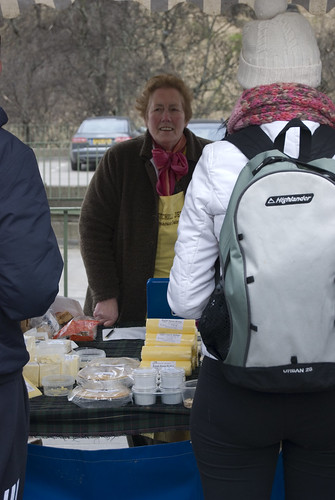
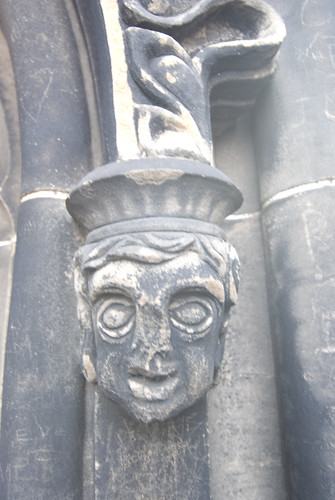
f5.6 1/400 ISO 800 200mm (35mm equivalent 300mm)
DSC_0042

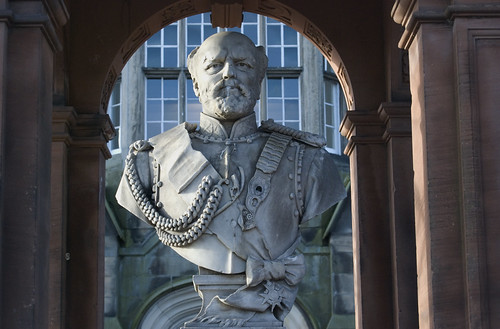
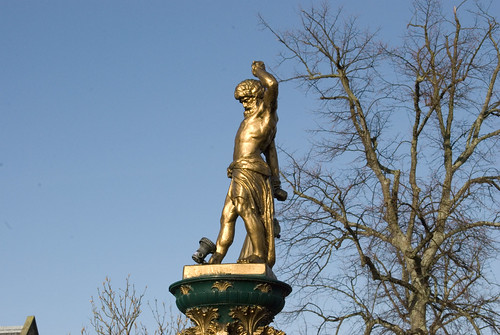
f5.6 1/640 ISO 800 200mm (35mm equivalent 300mm)
DSC_0039

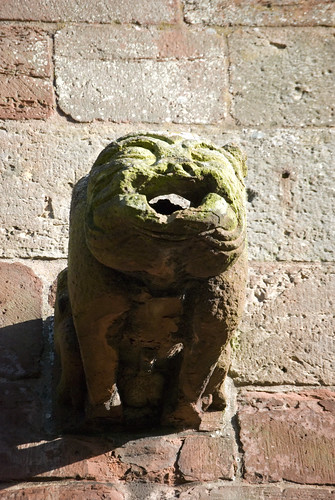
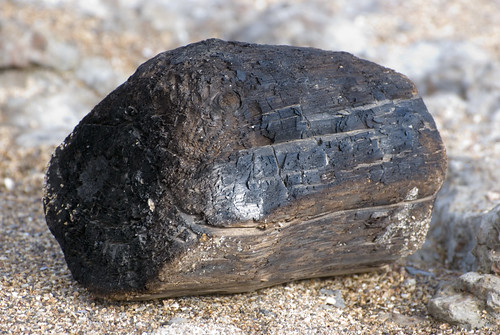
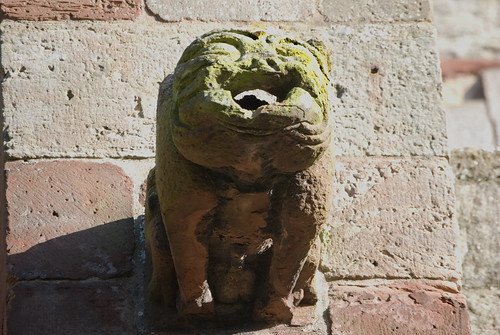
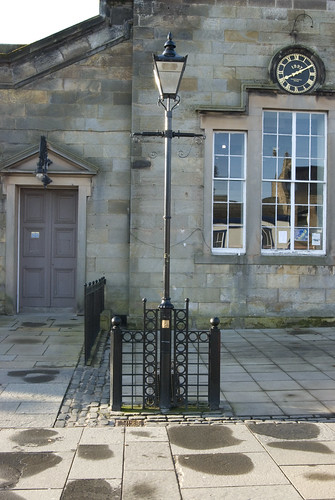
f11 1/125 ISO 800 55mm (35mm equivalent 82mm)
DSC_0010

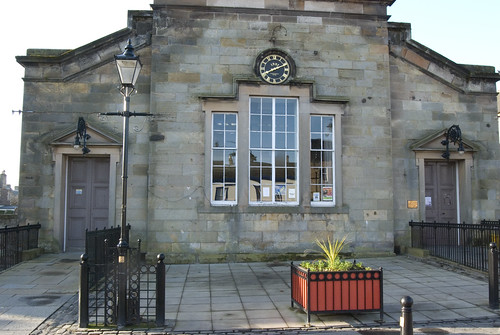
f9 1/125 ISO 800 55mm (35mm equivalent 82mm)
DSC_0011

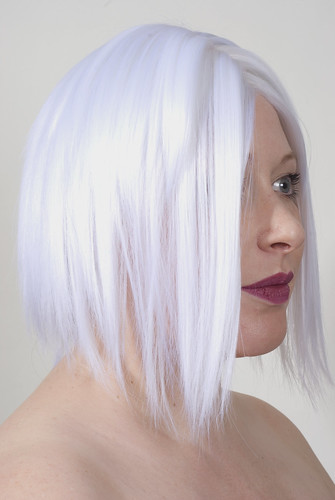
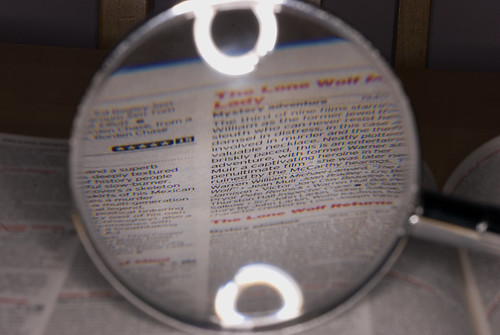
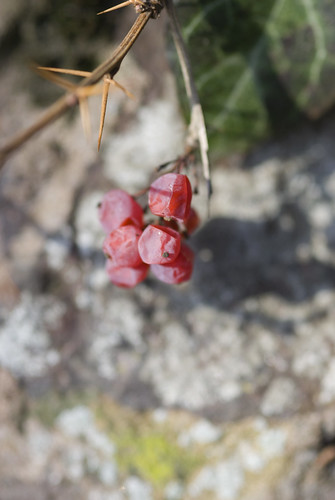
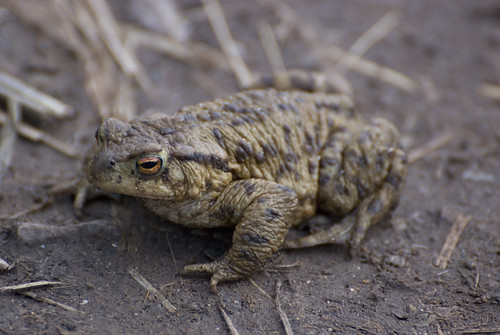
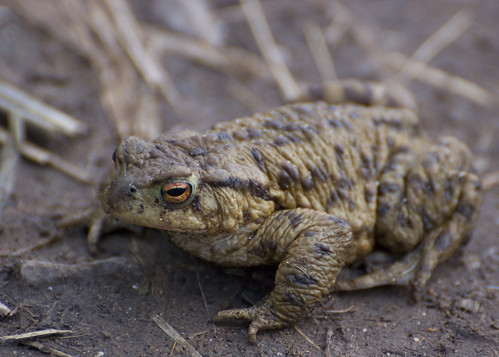
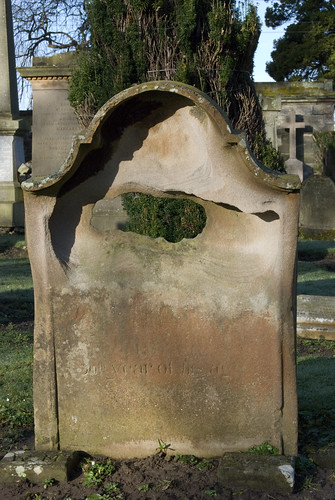
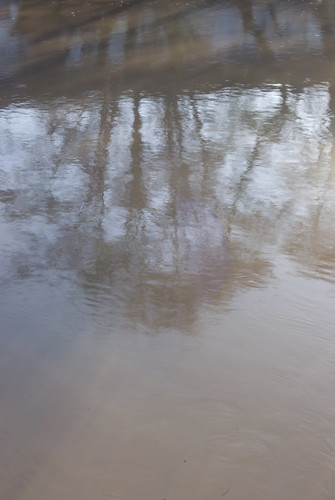
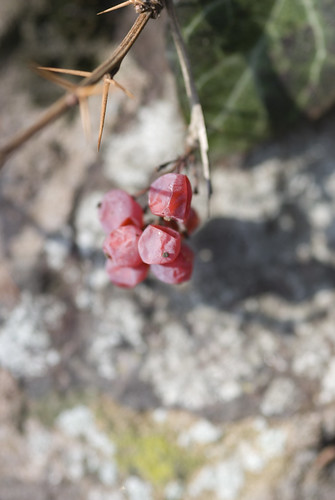
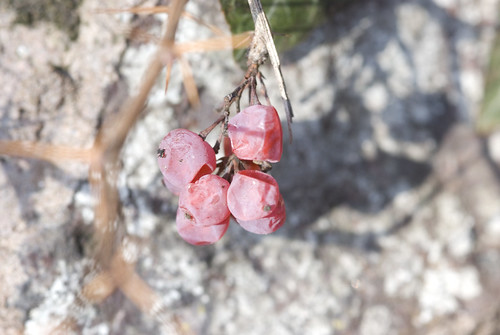
f3.5 1/13 ISO 100 105mm (35mm equivalent 157mm)
002

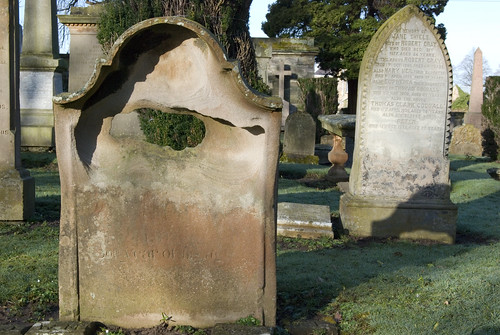
f3.3 1/25 ISO 100 105mm (35mm equivalent 157mm)
011

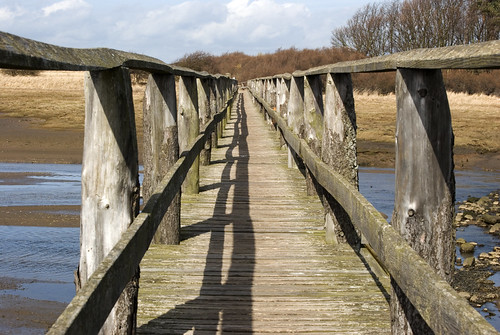
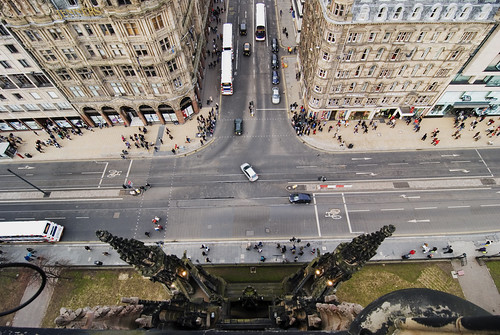
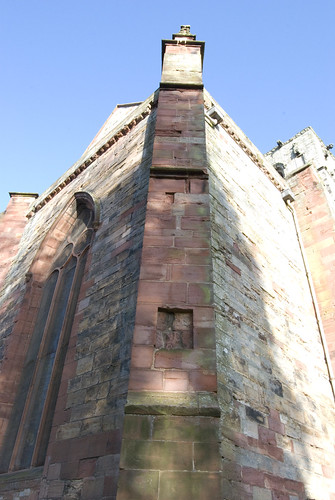
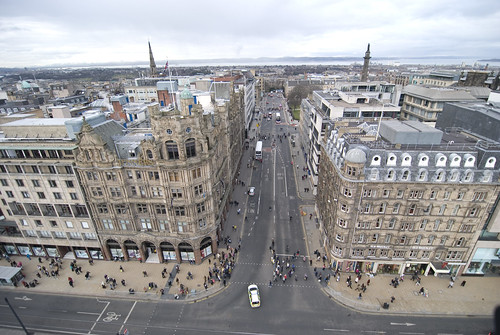
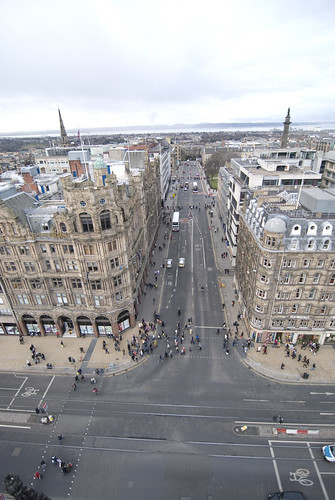
f16 1/250 ISO 500 18mm (35mm equivalent 27mm)
DSC_0002

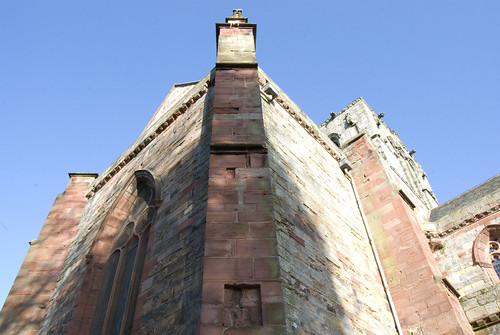
f16 1/400 ISO500 18mm (35mm equivalent 27mm)
DSC_0003

f16 1/320 ISO 500 55mm (35mm equivalent 82mm)
DSC_0004

f16 1/320 ISO 500 55mm (35mm equivalent 82mm)
DSC_0005

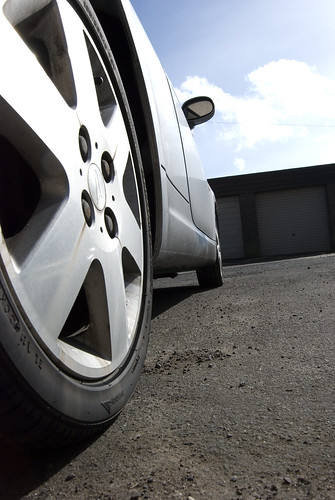
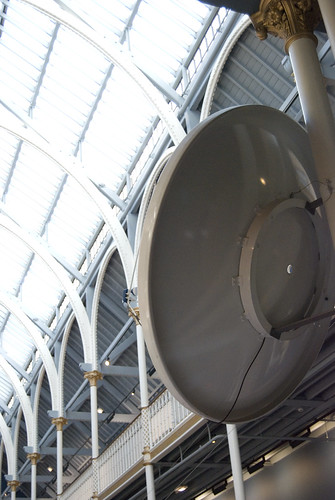
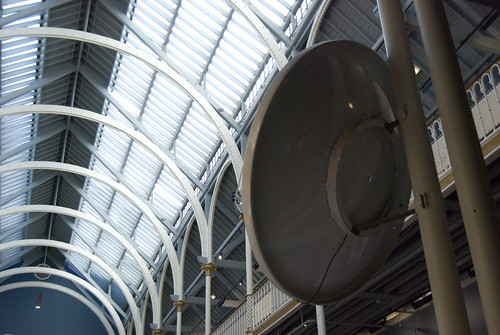
f4 1/1250 ISO 800 24mm (35mm equivalent 36mm)
DSC_0013

f4 1/2000 ISO 800 26mm (35mm equivalent 39mm)
DSC_0014

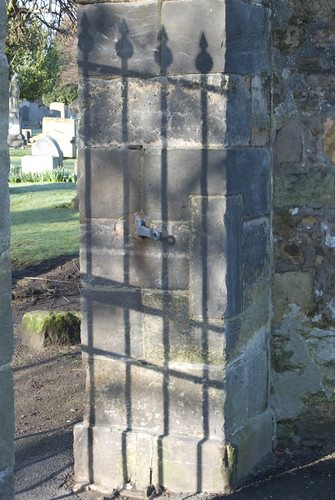
f18 1/400 ISO 800 55mm (35mm equivalent 82mm)
DSC_0018

f18 1/400 ISO 800 52mm (35mm equivalent 78mm)
DSC_0019

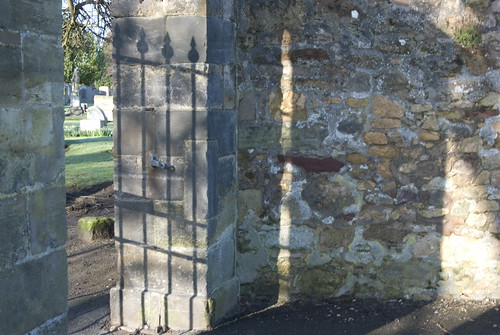
f18 1/50 ISO 800 28mm (35mm equivalent 42mm)
DSC_0020

f18 1/50 ISO 800 22mm (35mm equivalent 33mm)
DSC_0022

f18 1/160 ISO 800 46mm (35mm equivalent 69mm)
DSC_0026

f18 1/160 ISO 800 38mm (35mm equivalent 57mm)
DSC_0028

f18 1/60 ISO 800 18mm (35mm equivalent 27mm)
DSC_0033

f18 1/100 ISO 800 18mm (35mm equivalent 27mm)
DSC_0035

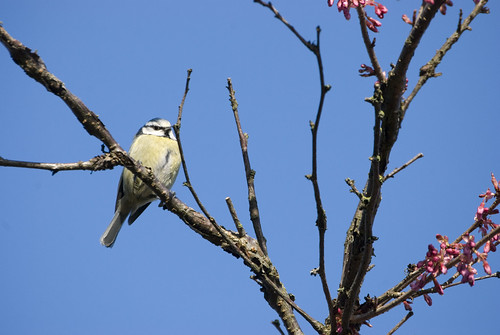
f7.1 1/60 ISO 250 48mm (35mm equivalent 72mm)
DSC_0036

f7.1 1/125 ISO 250 55mm (35mm equivalent 82mm)
DSC_0038

f7.1 1/500 ISO 320 19mm (35mm equivalent 28mm)
DSC_0047

f7.1 1/400 ISO 320 38mm (35mm equivalent 57mm)
DSC_0048

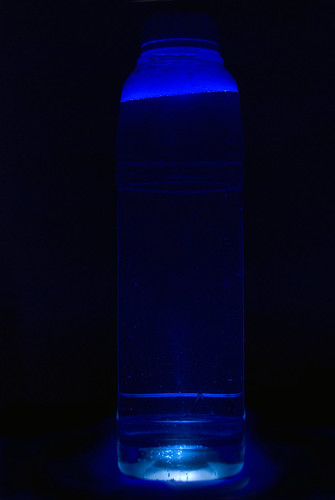
f29 1/6 ISO 100 31mm (35mm equivalent 46mm)
DSC_0052

f29 1/6 ISO 100 38mm (35mm equivalent 57mm)
DSC_0053

f16 1/6 ISO 100 55mm (35mm equivalent 82mm)
DSC_0059

f18 1/6 ISO 100 34mm (35mm equivalent 51mm)
DSC_0065

f10 1/250 ISO 320 200mm (35mm equivalent 300mm)
DSC_0079

f10 1/250 ISO 320 200mm (35mm equivalent 300mm)
DSC_0080

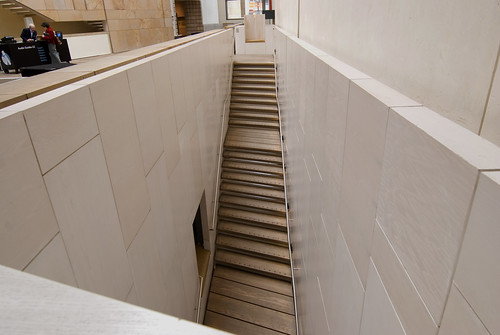
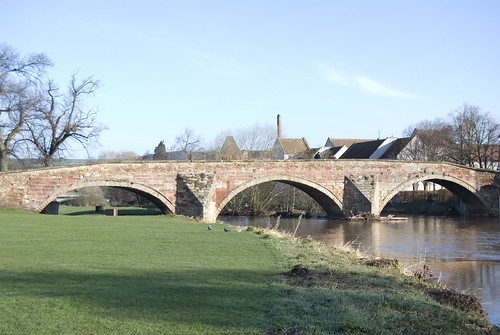
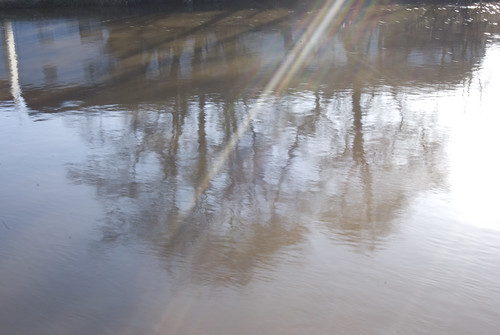
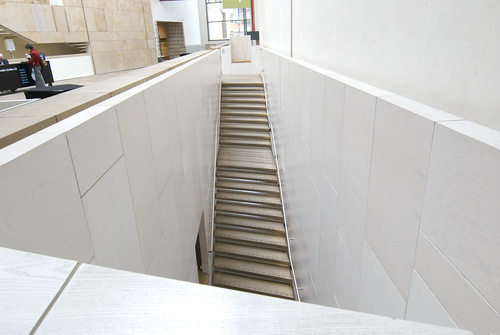
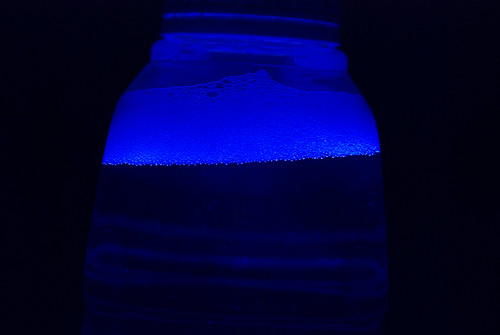
f14 0.3 ISO200 12mm (35mm equivalent 18mm)
DSC_0116

f14 0.4 ISO 200 16mm (35mm equivalent 24mm)
DSC_0117

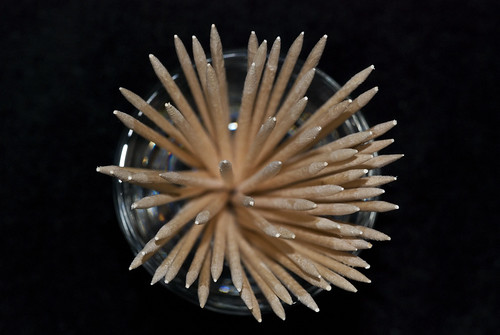
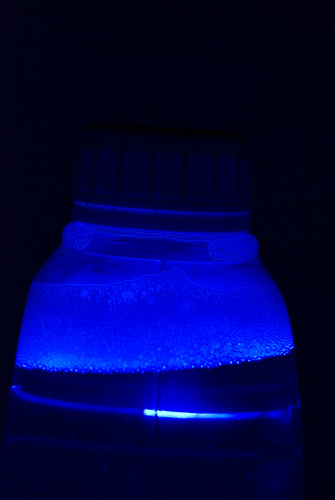
f2.8 1/160 ISO 100 11mm (35mm equivalent 16mm)
DSC_0130

f2.8 1/160 ISO 100 11.5mm (35mm equivalent 17mm)
DSC_0131

f7.1 1/4 ISO 100 16mm (35mm equivalent 24mm)
DSC_0138

f7.1 1/4 ISO 100 16mm (35mm equivalent 24mm)
DSC_0139

f4.8 1/60 ISO 1250 35mm (35mm equivalent 52mm)
DSC_0158

f4.2 1/160 ISO 1250 30mm (35mm equivalent 45mm)
DSC_0159

f4.5 1/200 ISO 100 105mm (35mm equivalent 157mm)
DSC_0167

f9 1/125 ISO 400 105mm (35mm equivalent 157mm)
DSC_0172

f8 1/125 ISO 500 55mm (25mm equivalent 82mm)
DSC_0179

f8 1/125 ISO 500 48mm (35mm equivalent 72mm)
DSC_0180


I do feel that this was a good exercise I have learned that it is possible to compose an image no matter what position I am holding the camera in,

it

can be made to work in both landscape and portrait positions. I had fun with this exercise, learning as I went.